Introduction
Understanding how users interact with your website is important to maximizing its effectiveness. By tracking key user interactions, like button clicks, you can gain valuable insights into user behavior, identify areas for improvement, and optimize your website for conversions.
The Biggest Challenge Facing by Every Website Owners
Consider a scenario, if your website has a WhatsApp Chat Button, but the website owner cannot track the performance of that button that how many clicks has happened to that button and how many were converted to leads and how many became their customers like that.
This article provides a solution for the pain point of the website owner. This comprehensive guide helps you to tracking unique button clicks on your website using Google Analytics and Google Tag Manager. By the end of this article, you will have a solid understanding of how to set up and analyze button click tracking data to improve your website’s performance.
Understanding Google Analytics for Beginners

Brief Introduction to Google Analytics
Google Analytics is a powerful tool that allows website owners to track and analyze various aspects of user behavior on their websites. It provides insights into user demographics, traffic sources, and how users interact with different elements on the site.
Importance of Tracking User Interactions and Events
Tracking user interactions and events, such as button clicks, helps you understand how users navigate your website and which elements are most effective in driving conversions. This information is valuable for making data-driven decisions to enhance user experience and achieve business goals.
Introduction to Google Tag Manager
What is Google Tag Manager?
Google Tag Manager is a free tool that allows you to manage and deploy marketing tags (snippets of code) on your website without having to modify the site’s code. It simplifies the process of tracking user interactions and events.
Benefits of Using Google Tag Manager for Website Tracking
Simplified Tag Management: Easily add, update, and manage tags from a user-friendly interface.
Reduced Reliance on Developers: Make changes to tags without needing to modify the website’s code.
Enhanced Flexibility: Track various user interactions, such as button clicks, form submissions, and video views.
Preparing for Button Click Tracking
Identifying the Unique Buttons to Track
Start by identifying the specific buttons you want to track on your website. These could be call-to-action buttons, navigation buttons, or any other interactive elements like whatsapp chat buttons.
Determining the Data to Capture
Decide what information you want to capture when a button is clicked. This could include the button text, button ID, URL, or other relevant attributes.
Setting Up Google Tag Manager
Creating a New Google Tag Manager Account
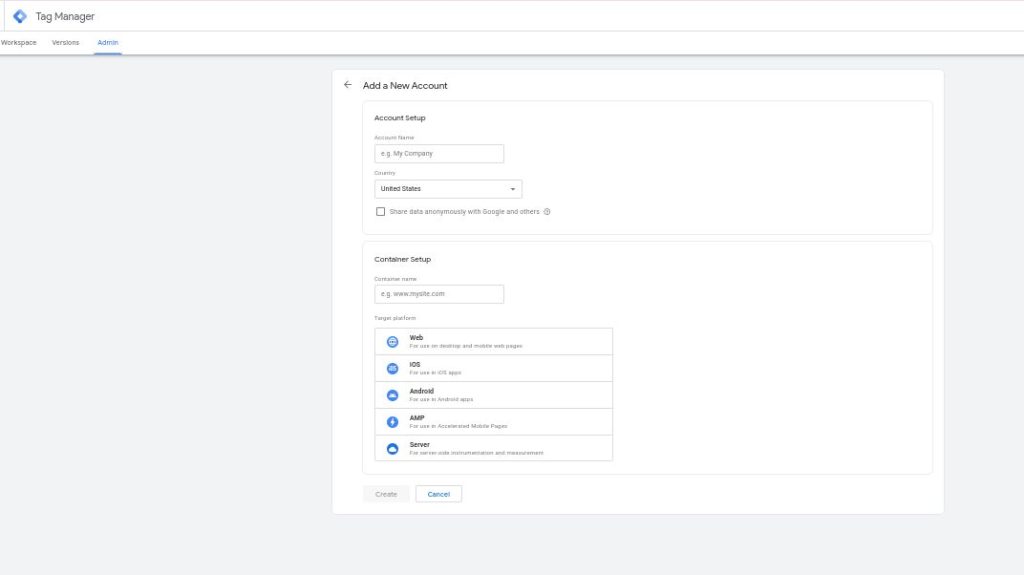
If you don’t already have a Google Tag Manager account, create one and set up a new container for your website.
Adding the Google Tag Manager Container to Your Website
Add the Google Tag Manager container code to your website’s head and body sections as instructed during the setup process.
Configuring Google Tag Manager
Creating a New Trigger for Button Clicks
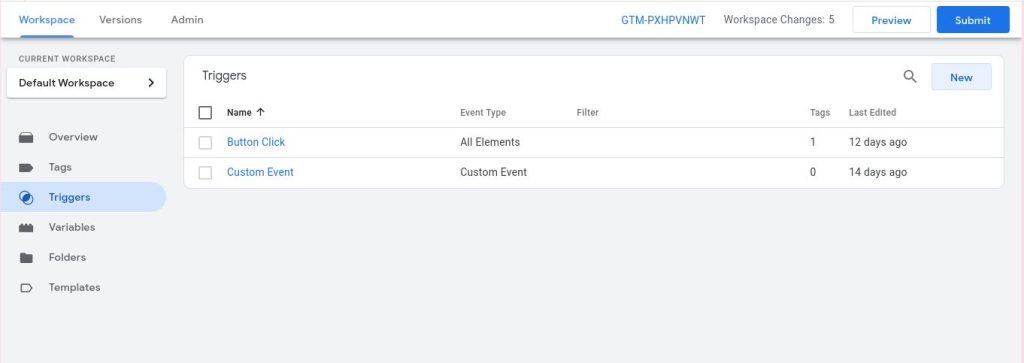
1. Navigate to Triggers: In Google Tag Manager, go to the “Triggers” section.
2. Create a New Trigger: Click on the “New” button and name your trigger.
3. Select Trigger Type: Choose “Click – All Elements.”
4. Define Trigger Conditions: Set up conditions based on the button text, button ID, or other attributes.
Creating a New Tag for the Button Click Event
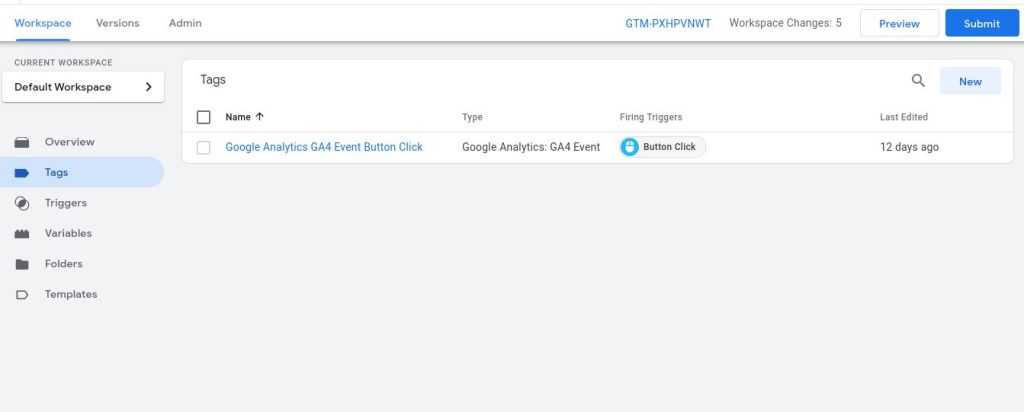
1. Navigate to Tags: In Google Tag Manager, go to the “Tags” section.
2. Create a New Tag: Click on the “New” button and name your tag.
3. Select Tag Type: Choose “GA4 Analytics Events” as the tag type.
4. Configure Tag Settings: Set the tracking type to “Event” and define the event category, action, and label based on your requirements.
After configuring the trigger and tag, publish the changes to make the button click tracking active on your website.
Verifying the Button Click Tracking
Checking the Google Tag Manager Preview and Debug Mode
Use the Google Tag Manager Preview and Debug mode to test if the button click tracking is working correctly. Click on the buttons you set up for tracking and verify that the tags fire as expected.
Validating the Button Click Data in Google Analytics
Log in to your Google Analytics account and check the real-time reports or the events section to validate that the button click data is being captured accurately.
Analyzing the Button Click Data in Google Analytics
Accessing the Button Click Data in Google Analytics
Navigate to the “Behavior” section in Google Analytics and select “Events” to view the button click data.
Interpreting the Button Click Metrics and Their Implications
Interpret the button click metrics to understand user behavior and identify opportunities for optimizing your website’s design and content.
Conclusion
Tracking unique button clicks on your website using Google Tag Manager and Google Analytics is a valuable technique for understanding user interactions and optimizing your website. By following the steps outlined in this guide, you can set up and analyze button click tracking data to make informed decisions and enhance your website’s performance. Start applying these techniques to your website today and unlock the full potential of your user interaction data!







Add comment